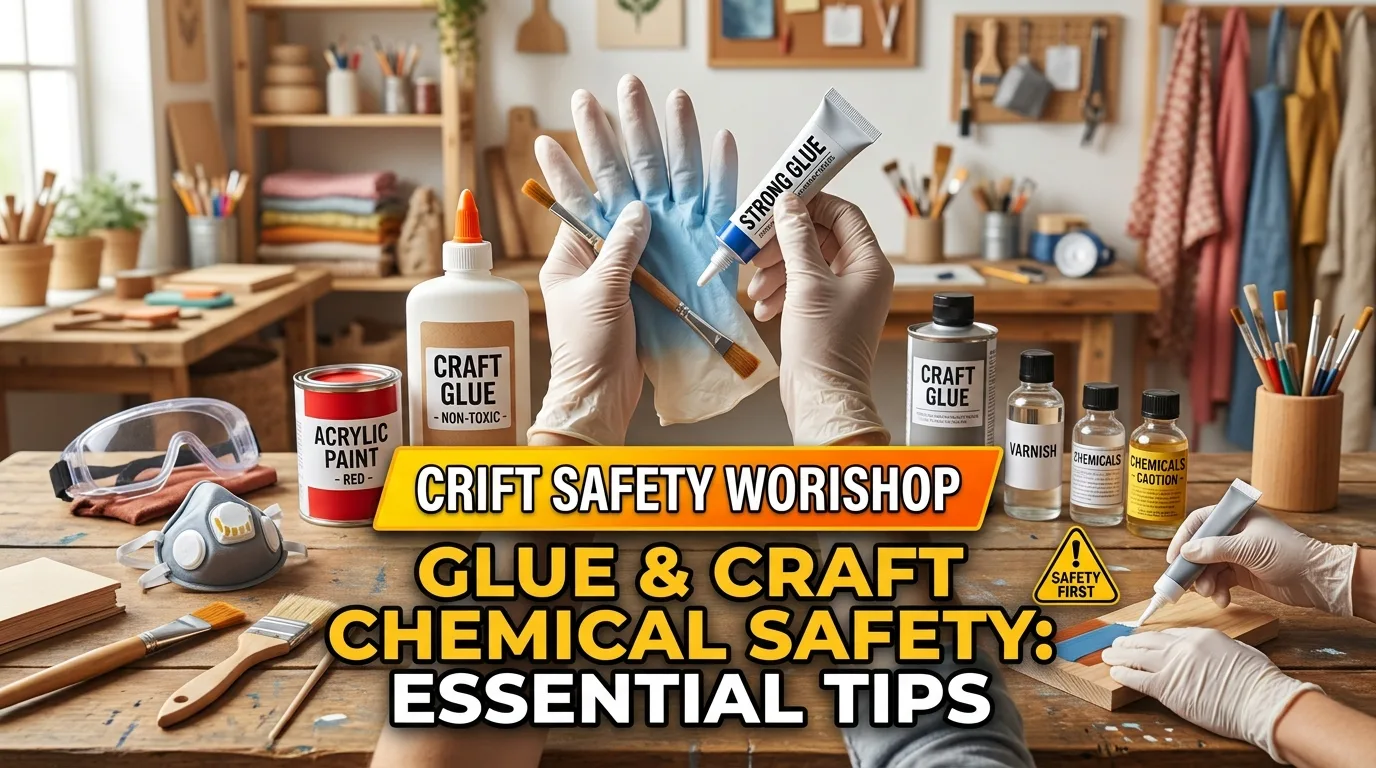
Most craft injuries I hear about aren't dramatic. They're a headache after three hours of working with solvent-based glue in a closed room, a rash from epoxy that shows up two days later, or a paint-stained rag that quietly smoulders in a bin. None of these get a warning label loud enough to notice.
After reading this guide you'll be able to set up a safe workspace, choose the right gloves and ventilation for what you're actually using, handle spills and disposal without guessing, and know when a product is beyond a home crafter's comfort level. It takes about 10 minutes to read and maybe 20 minutes to set up your space once. That's it.
What you need before you start
Nothing exotic. Gather these before you open a single bottle:
- The product labels and safety data sheets (SDS) for anything you already own. Most manufacturers publish SDS free online; keep the PDFs in a folder.
- Nitrile gloves and, separately, a pair of cheap cotton liners if you'll wear gloves for more than 20 minutes.
- Safety glasses or goggles, not just your everyday spectacles.
- A well-ventilated space with a window that actually opens, or a fan pulling air outward.
- A shallow tray or boot tray for catching drips under glue and paint bottles.
- Paper towels, a sealable metal container for solvent-soaked rags, and a bin bag for dry waste.
- A phone with the local poison control number saved. In the US that's 1-800-222-1222; check your own country's number and write it on a card near your workspace.
If you're not sure which products count as "chemicals," start with our glossary of key terms so the words on the label actually mean something.
Step 1: Read the label like it's the instruction manual (because it is)
Every product you touch has a label, and most crafters skim it. Don't. The label tells you four things that matter: what the product contains, what it reacts badly with, what protective gear the maker expects, and how to store it.
Look for signal words first. "Danger" or "Poison" means the highest hazard class. "Warning" is next. "Caution" is the lowest but still real. If a glue or paint says "Danger: flammable" you treat it differently than one marked "Caution: eye irritant."
Why it matters: the label is the manufacturer's legal minimum safety claim. If something goes wrong, it's also the first thing a doctor will ask about.
Practical tip: photograph the front and back of any product you buy and keep the photos in a phone album called "craft chemicals." Takes 30 seconds, saves you a scramble later. Approximate time: 2-3 minutes per product.
Step 2: Match your gloves to the chemical, not the shelf
Not all gloves are equal. Nitrile works for most water-based glues, acrylic paints, and light solvents. It does not protect well against acetone or strong paint strippers. Latex is porous to many solvents and is a poor choice for anyone with a latex sensitivity. Butyl rubber and laminated film gloves are what the SDS often specifies for aggressive solvents.
Check the SDS "Exposure controls" section for the glove type the manufacturer recommends. If the SDS says "use impervious gloves" and doesn't specify, nitrile is a reasonable default for short tasks, but verify for anything you'll have on your skin for more than 15 minutes.
Why it matters: the wrong glove can be worse than no glove, because it holds the chemical against your skin.
Practical tip: buy a box of nitrile in your size and a box one size up. The too-big pair goes over cotton liners for longer sessions. Approximate cost: a box of 100 nitrile gloves typically runs a few dollars to low double digits depending on thickness and where you buy.
Step 3: Build ventilation, don't rely on the window being "cracked"
Ventilation isn't about smell. It's about moving vapour and fine particles out of your breathing zone. A window open six inches in a still room does almost nothing.
Two setups work well in a home craft space. First, a box fan in a window blowing outward, with a second window cracked on the opposite side of the room as an inlet. Second, work directly under an extractor hood if your kitchen has one strong enough (test it by holding a tissue near the filter; if it doesn't pull, it's not enough). For spray paints and aerosol adhesives, work outside or in a garage with the door open.
Why it matters: solvent vapour is heavier than air in many cases and pools at bench height, right where you're leaning in.
Practical tip: never work with solvent-based products in a basement or windowless room, no matter how short the job. If that's the only space you have, switch to water-based alternatives for that project. Time to set up a fan-and-window rig: about 5 minutes.
Step 4: Treat epoxy and two-part resins with extra respect
Epoxy is the one I see underestimated most. The mixed resin and hardener are skin sensitisers, which means repeated exposure can turn a mild itch into a permanent allergy. Once you're sensitised, you stay sensitised, and even small future exposures can cause a reaction.
Wear nitrile gloves, long sleeves, and eye protection every single time you mix epoxy, even for tiny batches. Don't wipe your hands on a rag and call it clean; use a proper hand cleaner formulated for resins, or soap and warm water with a abrasive hand scrub.
Why it matters: epoxy sensitisation is a one-way door. There's no un-sensitising.
Practical tip: mix epoxy on a silicone mat or a sheet of parchment paper on a tray. Cleanup is one lift and toss instead of scraping cured drips off your bench.
Step 5: Handle solvent-soaked rags like the fire hazard they are
Rags soaked in linseed oil, oil-based paint, or certain solvent-based varnishes can self-heat as they dry and, in a pile, catch fire. This isn't rare; fire departments deal with it regularly. The fix is simple.
Lay oily rags flat on a non-combustible surface outdoors to dry fully, or drop them straight into a metal can with a tight lid filled with water. Never crumple them into a bin or a laundry basket.
Why it matters: the fire can start hours after you've walked away, often overnight.
Practical tip: keep a small metal paint can with a lid on your bench. That's your rag can. Fill it a third with water, add rags, close the lid. Empty and dispose per local rules when full. Approximate cost: a quart-size metal can is usually a few dollars at a hardware store.
Step 6: Store, label and dispose like a small lab
Good storage prevents most accidents before they happen. Flammables go in a cool spot away from the furnace, water heater, or anything with a pilot light. Acids and bases get separated. Glues go upright so they don't leak. Anything decanted into a secondary container gets a label with the product name and date.
For disposal, check your local household hazardous waste rules. Many areas run free drop-off days for paint, solvents, and resin; verify your area's schedule because it varies widely.
Why it matters: mixing incompatible waste (like bleach and ammonia-based cleaners) can release toxic gas, and pouring solvents down the drain is often illegal.
Practical tip: if you're juggling several projects and want a structured inventory, the ready-to-use checklists can help you keep track of what's open, what's expired, and what needs to go. Approximate time: 15-20 minutes to set up a proper storage shelf.
Step 7: Know when to stop and see a professional
If you're working with a product that requires a respirator with specific cartridges, a spray booth, or a fume hood, and you don't have one, that's your signal. Move the job to a professional finisher or find a water-based alternative.
The same goes for symptoms: a headache that builds over an hour, dizziness, nausea, a rash that doesn't fade, or eye irritation that persists after rinsing. Stop, get fresh air, and call poison control or a healthcare provider. Don't "tough it out."
Why it matters: most craft chemical injuries are cumulative, not one-off. Small repeated exposures add up.
Practical tip: use our interactive decision trees if you're unsure whether a specific product is safe for home use. They'll walk you through the questions that matter, like room size, product class, and duration.
Pro tips
- Buy the smallest size that finishes the job. Half-empty bottles of solvent-based products are a storage and disposal headache you don't need.
- Keep a dedicated "wet work" apron. Cotton or canvas, not synthetic, because a stray spark from a tool won't melt it to your skin.
- Test new-to-you products on a scrap in the ventilated space first. Learn the smell, the cure time, and any skin reaction before committing.
- Wash hands with cool water, not hot, after resin or solvent contact. Hot water opens pores and can drive the chemical in faster.
- Photograph your SDS sheets and store them in the cloud. If you ever need to show a doctor or landlord, you'll have them instantly.
- Silicone mats under everything. Cheap, reusable, and they turn cleanup from 20 minutes into 20 seconds.
Common pitfalls
Pitfall 1: Assuming "non-toxic" means "safe to inhale." Many water-based products are low-hazard on skin but still release VOCs or fine particles. Ventilate anyway.
Pitfall 2: Reusing a solvent rag for a second project. The rag is now contaminated with a mix you didn't plan for. Use a fresh one.
Pitfall 3: Mixing brands in one container. Two brands of two-part resin or paint thinner may not be compatible and can react unpredictably. Keep them separate unless the manufacturer says otherwise.
Pitfall 4: Skipping eye protection because "it's just a little glue." Glue in the eye is a same-day ER trip. Goggles cost less than a copay.
Pitfall 5: Storing chemicals in food containers. Kids and adults both mistake them. Keep products in their original labeled containers or properly marked secondary ones.
Useful resources
- The manufacturer's Safety Data Sheet (SDS), usually free on the product page or by request.
- Your country's poison control center (in the US: 1-800-222-1222; check locally elsewhere).
- Your local household hazardous waste program, often listed on your city or county website.
- OSHA's guidance on chemical hazards for a plain-language overview of signal words and exposure limits.
- The practical guides on this site for project-specific setup advice.
FAQ
Do I really need to wear gloves for water-based glue? For a single small job, probably not, but if you're spreading it with your fingers for 20 minutes, yes. Repeated skin contact with any adhesive can lead to irritation or sensitivity over time.
Can I use a dust mask as a respirator for solvent fumes? No. A dust mask filters particles, not vapours. Solvent vapours need a cartridge respirator rated for organic vapours, and those need proper fit testing to work.
What if I spill epoxy on my skin? Wipe off as much as possible with a dry paper towel, then wash with soap and warm water and a hand scrub. Don't use solvent to remove it; that drives it deeper. If you develop a rash, stop using epoxy and see a doctor.
Is it safe to craft with resin in an apartment? Only with strong ventilation, ideally a balcony or open window with a fan pulling air out, and never in a bedroom or bathroom. If you can't ventilate, choose a different material.
How long can I store opened paint or glue? It varies by product, so check the label. Many water-based products last 1-2 years if sealed well; solvent-based ones often longer. As a rough check, if it smells different, has separated and won't remix, or has changed texture, replace it.
A final word
Safety gear isn't a sign you're clumsy; it's a sign you plan to keep crafting for decades. Set up your space once, keep the rag can and gloves within arm's reach, and the daily friction disappears. The best project is the one you finish with all your skin and lungs intact.